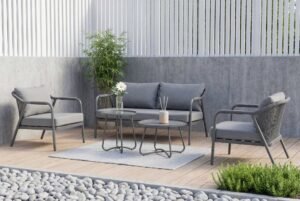
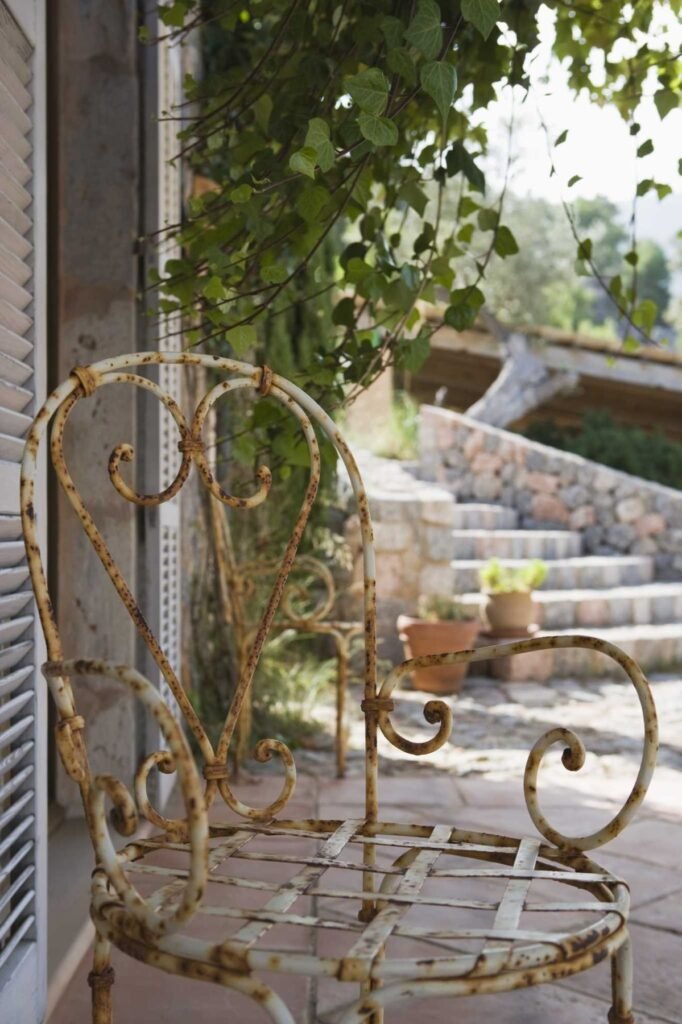
Has the luster of your metal furniture faded over time? The iron patio set is chipped and rusted, the metal bookshelf in the study has worn edges, and the aluminum storage rack in the kitchen has dulled… There’s no need to rush to buy new ones. With a little effort to “give them a fresh coat of paint,” you can easily refresh their appearance. Today, I’ll share the complete guide to painting metal furniture with you – from tool preparation to final maintenance, even beginners can succeed on the first try!
I. First, Understand the Core of Painting Metal Furniture: “Prevent Rust and Ensure Adhesion”
Unlike wooden furniture, metal furniture’s biggest drawback is its tendency to rust, and ordinary paint hardly adheres to smooth metal surfaces. Therefore, the core logic of painting metal furniture is not to “brush directly” but to solve the problems of “rusting” and “adhesion” through pre-treatment. If these two steps are not done properly, the painted surface will peel off or flake within a few months, making all your efforts in vain.
Additionally, the usage scenario of the metal furniture is crucial: for outdoor iron furniture, choose paint that is sun-resistant and rainproof; for metal cabinets in the kitchen, opt for heat-resistant and oil-proof paint; for indoor metal racks, you can focus on appearance and environmental protection. Clarifying your needs in advance helps you select the right materials.
II. Preparation Stage: Gather Tools and Materials to Avoid Interruptions
A common mistake beginners make is lacking necessary tools or materials halfway through the project. Running out of sandpaper or paint not only affects efficiency but also leads to uneven paint joints. Make a list and gather everything at once.
1. Core Tools: Covering “Sanding, Cleaning, and Painting” Processes
- Sanding Tools: 80-grit coarse sandpaper (for rust removal), 240-grit fine sandpaper (for polishing), electric sander (saves effort for large furniture like iron bed frames; use a sanding block or hand sanding for small items);
- Cleaning Tools: Wire brush (to remove large rust flakes), rags, rubbing alcohol/vinegar (for degreasing and stain removal), small brush (to clean dust in crevices);
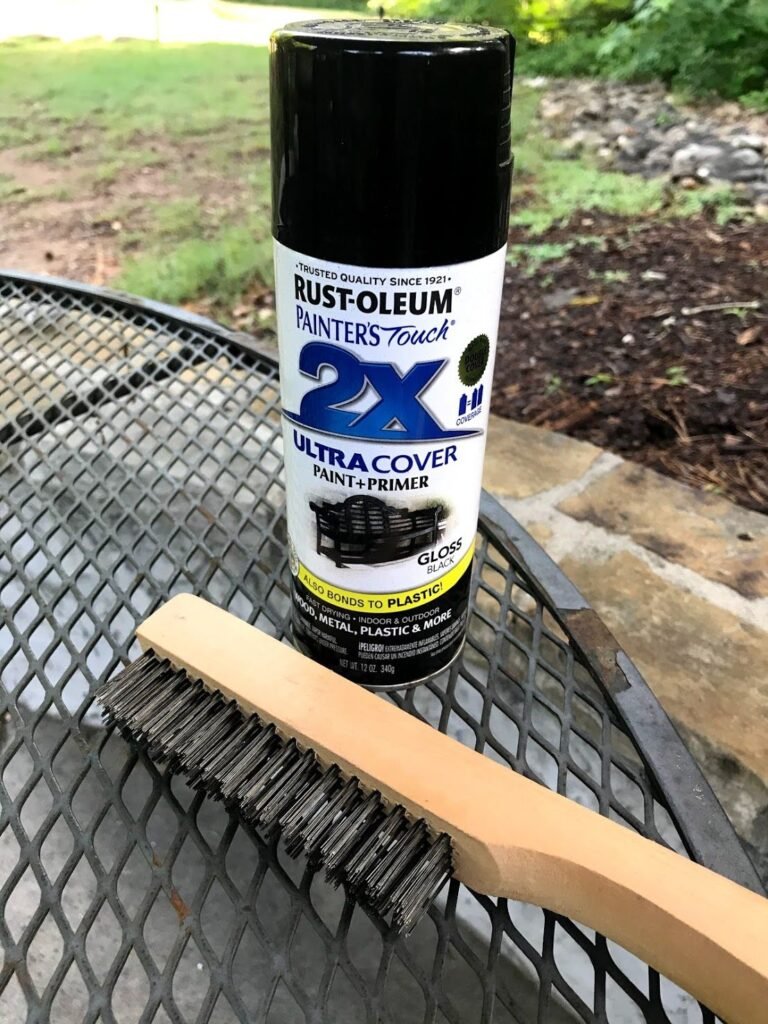
- Painting Tools: Wool brushes (2-3 inches, for smooth application on flat surfaces), spray gun (for even coating on large areas; beginners can use small handheld models), painter’s tape (to cover areas that don’t need painting, such as plastic parts of metal furniture);
- Auxiliary Tools: Disposable gloves (to avoid paint on hands), face mask (to prevent paint fumes), newspaper/plastic sheeting (to protect the floor from paint stains), small scraper (to remove stubborn stains).
2. Key Materials: Choosing the Right Paint Doubles the Effect
The “golden combination” for painting metal furniture is “primer + topcoat” – neither can be omitted. Primer is responsible for rust prevention and enhancing adhesion, while topcoat contributes to appearance and protection. Don’t take shortcuts by only applying topcoat.
- Primer: Prioritize “metal rust-inhibiting primer,” which is suitable for iron, aluminum, and stainless steel. It forms a protective film on the metal surface to prevent rusting;
- Topcoat: Choose the type based on the scenario. Beginners are advised to use “spray paint” or “alkyd enamel paint” for easy application and high hardness: Outdoor furniture (tables, chairs, plant stands): Select “outdoor weather-resistant metal paint,” which is UV-resistant and rainproof. Recommended colors are dark gray, dark green, and other stain-resistant shades;
- Indoor furniture (bookshelves, storage cabinets): Choose “environmentally friendly metal paint” with no odor. Matte white, light gray, and other versatile colors are ideal to match your home decor;
- Kitchen/bathroom: Opt for “heat-resistant and oil-proof metal paint” to prevent oil adhesion and deformation caused by high temperatures
Other Materials: Rust remover (for severe rust – spray it on, and the rust will peel off automatically after 10-15 minutes, which is easier than sanding), putty (use metal-specific putty to fill in dents on the furniture surface for a smooth finish).
III. Practical Steps: 4 Steps to Success – Master the Key Details
With proper preparation, painting metal furniture is actually simple. Follow the steps and focus on the “acceptance criteria” for each stage to ensure each step is qualified before moving on to the next.
Step 1: Thorough Rust Removal and Cleaning – The Foundation of Durable Paint
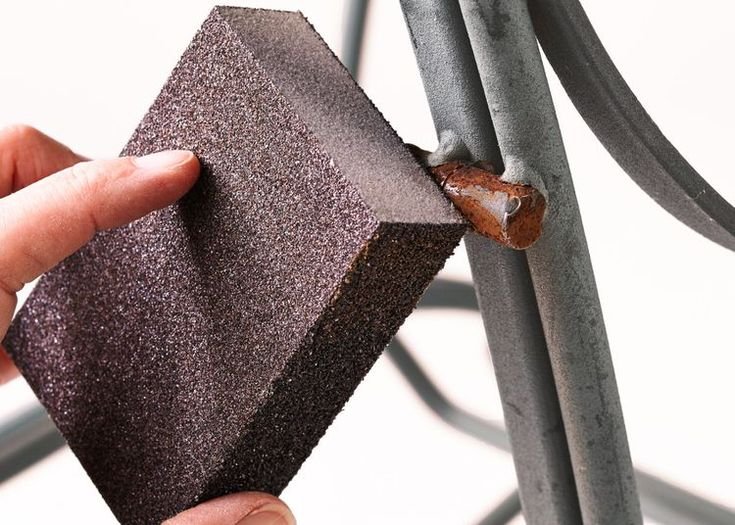
- Remove Large Rust Flakes: Scrub along the metal grain with a wire brush to remove raised rust and peeling old paint. For stubborn rust, spray rust remover, let it sit for 10-15 minutes to soften the rust, then scrub again;
- Fine Sanding: First, sand the entire surface with 80-grit coarse sandpaper to remove residual rust and uneven areas until the surface feels smooth without burrs. Then switch to 240-grit fine sandpaper for polishing to make the surface smoother and facilitate paint adhesion;
- Cleaning and Degreasing: Wipe the surface with a rag dipped in rubbing alcohol or vinegar to remove dust and oil stains (especially for kitchen furniture, ensure thorough degreasing). Use a small brush to clean dust in crevices. Finally, wipe the surface with a dry rag to ensure it is completely dry with no moisture (moisture will cause rust later).
- Acceptance Criteria: Touch the entire surface – no rust, no burrs, no oil stains, and your hands remain clean after touching.
Step 2: Apply Primer – Build a Solid Rust-Proof Barrier
The color of the primer doesn’t matter; the key is to apply it evenly without missing any spots.
- Pre-treatment: If using a brush, stir the primer thoroughly; if using spray paint, shake it for 30 seconds to mix the paint evenly;
- Painting Tips: Brush along the metal grain, dip an appropriate amount of paint each time to avoid dripping. Use a small brush to touch up hard-to-reach areas like edges and crevices to ensure no spots are missed;
- Drying Time: Primer usually takes 4-6 hours to dry completely, depending on the weather (extend the time in humid conditions). Do not rush to apply the topcoat – insufficient drying will cause the paint surface to wrinkle.
Acceptance Criteria: A uniform protective film forms on the surface, with no missed spots, bubbles, or runs.
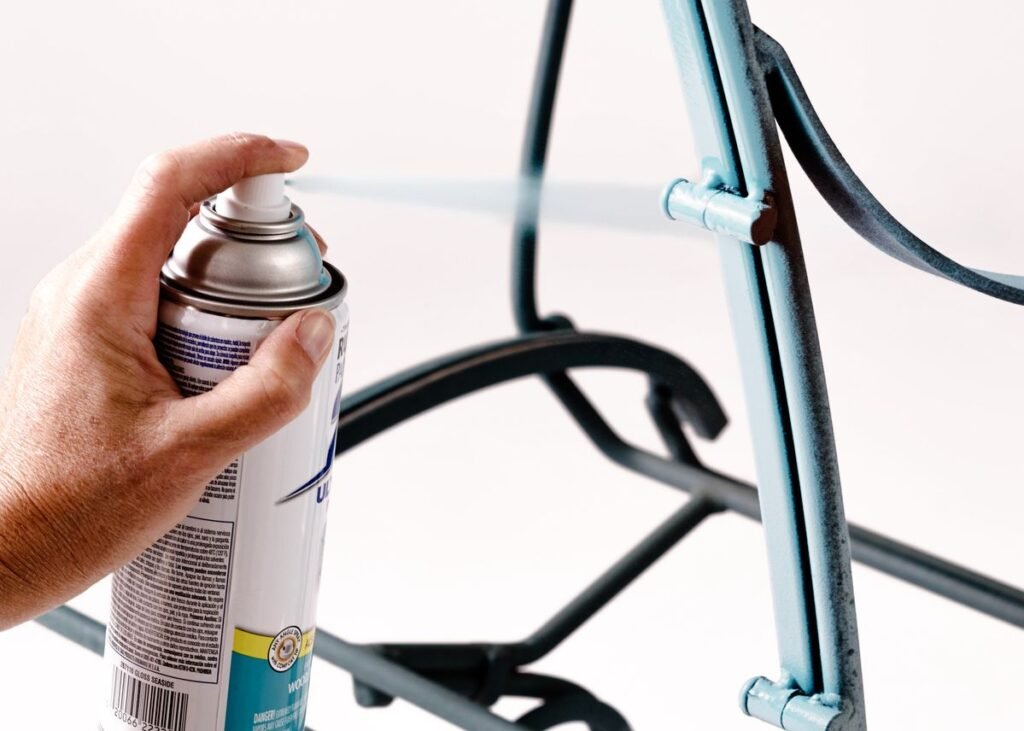
Step 3: Apply Topcoat – Create an Attractive Finish
Topcoat determines the appearance, so paint slowly and maintain a steady hand.
- Masking and Protection: Use painter’s tape to cover parts of the furniture that don’t need painting (such as screws and plastic accessories). Lay newspaper on the floor to avoid paint stains;
- Painting Method: Like the primer, brush along the grain and follow the principle of “thin coats, multiple times” – apply a thin first coat, then a second coat after it dries. This works much better than applying a thick coat at once, as it avoids runs and peeling;
- Notes: Keep the area well-ventilated to prevent dust from sticking to the wet paint. If using spray paint, hold the nozzle 20-30 cm away from the furniture and move it evenly – do not spray in one spot for too long.
Acceptance Criteria: The paint surface is even and smooth with consistent color, no runs, no particles, and no missed spots. Usually, 2-3 coats achieve the ideal effect.
Step 4: Let It Cure – Ensure Complete Paint Hardening
Applying the topcoat doesn’t mean the job is done – poor maintenance can ruin all your efforts.
- The topcoat takes 8-12 hours to dry completely and 3-5 days to cure. Do not touch it or place items on the furniture during this period;
- Keep the area well-ventilated and dry during curing. Avoid direct sunlight and rain (especially for outdoor furniture – move it indoors until fully cured);
- If there are slight particles on the surface after curing, gently sand them with fine sandpaper and wipe clean with a dry rag.
IV. Beginner Pitfalls to Avoid: 4 Mistakes You Must Steer Clear Of
- Painting Without Removing Rust: This is the most common mistake. Rust will continue to spread, causing the paint surface to bulge and peel quickly;
- Applying Too Thick a Coat at Once: The paint will run, forming “tear-like” drips that ruin the appearance;
- Painting in Humid/Dusty Environments: Humidity prevents the paint from drying, while dust sticks to the wet surface, creating a grainy texture;
- Using the Furniture Before Full Curing: The paint surface will scratch easily – only use it after complete curing.
V. Conclusion: Patience Is the Key to Painting Metal Furniture
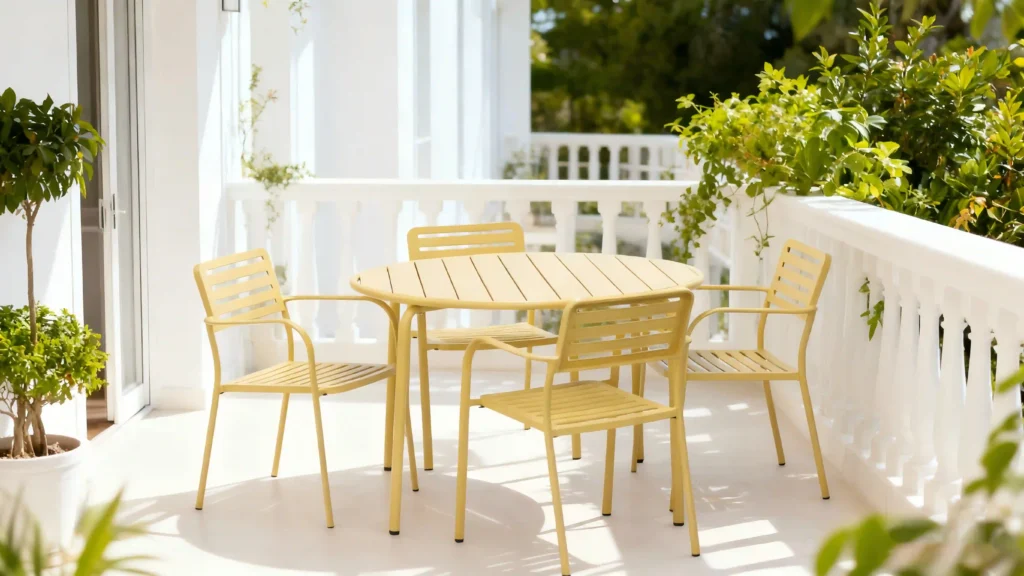
Painting metal furniture is not as difficult as it seems. The core principles are: “thorough rust removal, never skip primer or topcoat, and apply thin coats with patience during curing.” Spend a day on preparation and a few days on curing, and your rusty, worn metal furniture will become a highlight in your home. It saves you a lot of money compared to buying new furniture and fills you with the sense of accomplishment from DIY.
However, when purchasing outdoor furniture, we should choose products with electrophoresis and powder coating processes to extend their lifespan. Regular maintenance of the paint coating is also necessary to prevent rust. For example, minor scratches on outdoor furniture can be treated with painting metal furniture without sanding.
Do you have metal furniture at home that needs a makeover? Start with small items like metal flower pots or storage boxes – give it a try!